Mastering Pencil Shading: Cross-Hatching and Blending Techniques
Pencil shading is a core skill in drawing that allows artists to create the illusion of depth, volume, and texture on a two-dimensional surface. By controlling the pressure, direction, and density of pencil marks, one can convey a wide range of tonal values and surface qualities. Among the many shading methods, cross-hatching, stippling, and blending stand out as versatile techniques that can be adapted to different artistic styles and subjects. Understanding how each method works and when to apply them is essential for developing a personal drawing approach.
Graphite pencils are the primary tool for these techniques, offering a range of hardness from hard (H) to soft (B). Softer pencils produce darker, more easily blended marks, while harder pencils allow for finer, more controlled lines. The choice of paper also influences the result: smooth paper supports even blending and fine details, while textured paper can enhance the grainy effect of stippling or the visible lines of cross-hatching. Before exploring specific methods, it is helpful to experiment with basic pressure gradients and line spacing to become familiar with the material’s behaviour.
The following sections explain the principles behind cross-hatching, stippling, and blending, along with practical exercises that can be used to build confidence. The focus is on the process itself, recognising that outcomes depend on individual practice, paper choice, and the specific context of each drawing. No single technique is inherently superior; rather, each offers a different visual language that can be combined or used separately according to the artist’s intention.
Cross-Hatching: Building Tone with Layered Lines
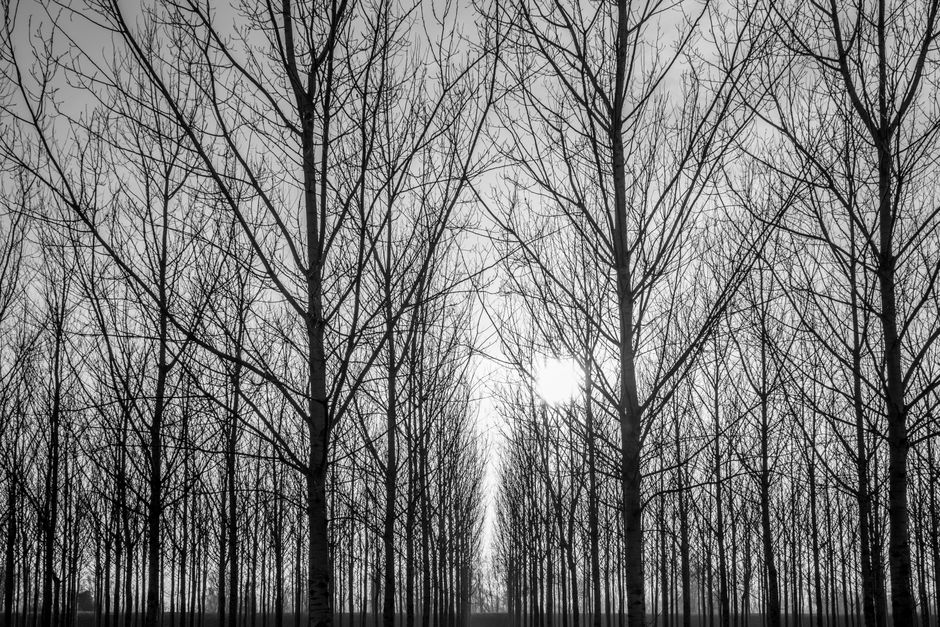
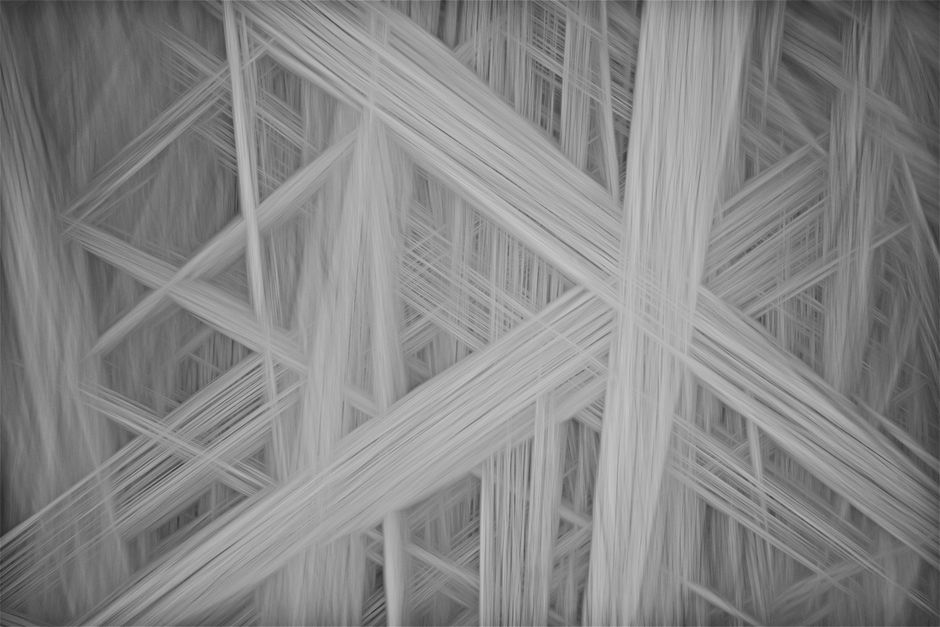
Cross-hatching involves drawing a series of parallel lines in one direction, then overlaying them with parallel lines in a different direction to create darker tones. The density and spacing of the lines determine the value: closely spaced lines produce deeper shadows, while wider gaps result in lighter areas. The angle between the layers also matters—common choices are 45, 60, or 90 degrees, depending on the desired texture and the shape of the object being shaded.
When applying cross-hatching, it is important to maintain consistent pressure to avoid uneven lines. Many artists begin with light, widely spaced lines and gradually add more layers in the darker regions. The direction of the lines can follow the form of the subject, such as curved lines for rounded surfaces, which helps reinforce the three-dimensional feel. Cross-hatching works well for creating textures like fabric, wood grain, or rough stone, as the visible lines themselves become part of the surface description.
One common approach is to use multiple layers of hatching at different angles, sometimes adding a third or fourth direction for the darkest areas. The key is to allow each layer to dry or set before adding the next, though with graphite this simply means taking care not to smudge existing lines accidentally. Cross-hatching requires patience and a steady hand, but it offers a high degree of control over tonal transitions.
Stippling: Creating Tone with Dots
Stippling is a technique that builds tone through the placement of numerous small dots. The density of the dots dictates the darkness: more dots per unit area produce darker values, while fewer dots create lighter areas. Unlike cross-hatching, stippling does not rely on lines, so the resulting texture can be very fine and subtle. It is often used for highly detailed illustrations, scientific drawings, or any work where a soft, granular effect is desired.
The process of stippling is time‑consuming, as each dot must be placed deliberately. A sharp pencil point is essential for uniform dot size, though varying the pressure can produce slightly different effects. Many artists start with the darkest areas, placing dots more densely, and then gradually reduce the density toward the lighter regions. Stippling can also be combined with other techniques: for example, hatching can define broad tonal areas, while stippling adds fine texture in specific zones.
Because stippling relies on the accumulation of tiny marks, it requires a steady hand and careful planning. Erasing mistakes can be difficult, so it is advisable to work from lighter to darker regions and to use light guidelines initially. The technique is particularly effective for rendering surfaces such as sand, stone, skin pores, or foliage where a smooth gradient would feel unnatural.
Blending: Smooth Transitions through Smudging and Layering
Blending involves softening or merging pencil strokes to create smooth, continuous tonal transitions. This can be done using tools such as blending stumps (tortillons), chamois cloths, or even a finger, though each tool imparts a slightly different texture. Blending is especially useful for rendering soft materials like skin, clouds, or reflections, where visible lines might detract from the realism.
One method is to apply graphite in layers, gradually building up the dark values while blending between layers. For example, a base layer of light shading can be blended to create a smooth midtone, then darker marks are added and blended again in the shadow areas. The goal is to avoid harsh edges unless they are intentionally part of the composition. Blending can also be used in combination with hatching or stippling: the artist might hatch an area, then blend it slightly to reduce the appearance of individual lines, leaving a softer texture.
It is worth noting that over‑blending can lead to a muddy or flat appearance, as the graphite becomes packed into the paper fibres. To maintain clarity, many artists reserve blending for specific areas while leaving other parts with visible marks for contrast. The paper surface also plays a role: rougher paper holds graphite more loosely, making blending more textured, while smooth paper allows for very even gradients. Experimenting with different pressures and blending tools helps develop an intuitive sense of when and how much to blend.
Practical Exercises for Developing Shading Skills
Practising each technique separately can help build familiarity before combining them. A simple exercise involves drawing a series of squares or rectangles on a sheet of paper and filling each with a different shading method. For cross-hatching, create a square with lines at one angle, then another with two layers, and a third with three layers, observing how the value darkens. For stippling, fill a square with dots at low density, another at medium, and another at high density, aiming for an even distribution.
A gradient exercise can improve control over transitions. Draw a long rectangle and, using cross-hatching, start with very few lines on the left and gradually increase line density toward the right. Repeat the same exercise with stippling and then with blending. This helps develop an understanding of how to produce smooth value shifts without abrupt jumps. Another useful practice is to shade a simple three‑dimensional shape, such as a sphere or a cylinder, using first one technique and then another, noting how each method interprets the form differently.
Finally, combining techniques within a single drawing can yield richer textures. For instance, an apple might be shaded with cross‑hatching for the surface, stippling for the tiny speckles, and blending for the soft highlight. The choice depends on the desired effect, and there is no fixed rule. By working through these exercises repeatedly, artists gradually become more comfortable switching between methods and adapting them to their own visual goals. Regular practice, combined with observation of real‑world light and texture, remains the most reliable path to improvement.