How to Draw a Simple Landscape Using Basic Perspective
Drawing a landscape that feels spacious and realistic often depends on the use of perspective. One-point perspective is a straightforward method that helps create the illusion of depth on a flat surface. By understanding a few key concepts, anyone can produce a simple landscape that guides the viewer’s eye naturally through the scene. This approach is particularly useful for practicing composition because it provides a clear structure for organising elements from the foreground to the background.
The process involves establishing a horizon line, placing a single vanishing point, and constructing lines that recede towards that point. The landscape can then be built by adding simple shapes such as rectangles, triangles, and curves that follow these perspective guidelines. The goal is not to achieve photographic accuracy but to create a coherent spatial relationship between objects. With practice, these techniques become intuitive, allowing for more expressive and complex scenes over time.
Understanding One-Point Perspective
One-point perspective relies on the idea that parallel lines appear to converge at a single point on the horizon. This point is called the vanishing point. In a landscape, roads, fences, rivers, or rows of trees often serve as these converging lines. The horizon line itself represents the eye level of the observer. Everything above this line appears lower from the viewer’s perspective, while everything below appears higher.
When drawing a landscape, the first step is to decide where the horizon line will be placed. A high horizon line suggests a view looking down, while a low horizon line creates a sense of looking up. For a balanced composition, the horizon is often placed around the middle of the page, but adjusting it can dramatically alter the mood. The vanishing point is typically centred, though it can be offset to create asymmetry. Understanding these fundamentals allows the artist to control depth and focus within the drawing.
Choosing a Scene and Setting the Horizon Line
Selecting a simple scene makes the learning process smoother. A landscape with a straight road or a path leading into the distance is an ideal subject. Other elements such as trees, hills, and a sky can be added later. The scene does not need to be complex; the emphasis is on practising the perspective framework. A rural lane with a few fields, a fence, and a distant cottage works well for a first attempt.
Once the scene is chosen, the horizon line is drawn lightly across the paper. This line should be straight and horizontal. Using a ruler can help, but freehand lines are acceptable for a looser style. After drawing the horizon, the vanishing point is marked. It is helpful to place it slightly left or right of centre to create a more dynamic composition. At this stage, the drawing consists only of these two reference marks, which will guide all subsequent linework.
Placing the Vanishing Point and Key Lines
With the horizon and vanishing point in place, the next step involves drawing the primary lines that recede into the distance. For a road, two lines starting from the bottom edge of the paper converge at the vanishing point. These lines represent the edges of the road. Similarly, if a fence is included, its horizontal rails will be drawn as lines that also converge, while the vertical posts remain upright and become smaller as they approach the horizon.
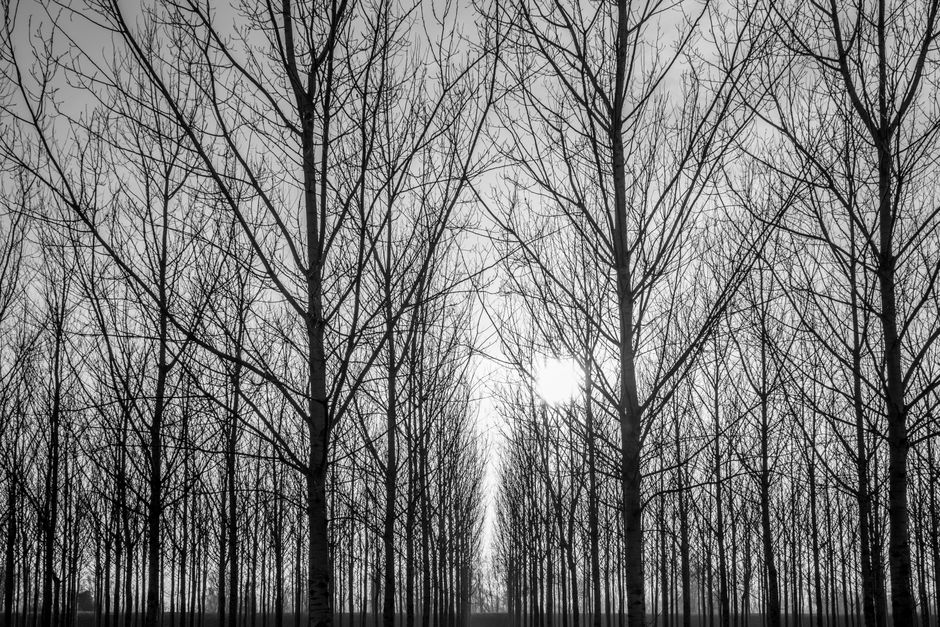
Other elements such as a river or a row of trees follow the same principle. The base of each tree can be placed along an imaginary line that leads to the vanishing point. The height of trees is determined by drawing vertical lines of decreasing length as they move towards the horizon. The observer’s eye naturally interprets these diminishing sizes as depth. It is important to keep the lines light during this phase, as they may be adjusted or erased later. The framework should be a guide rather than a rigid boundary.
Adding Foreground, Midground, and Background Elements
Once the perspective framework is established, the landscape can be developed by adding layers. The foreground typically contains larger, more detailed elements such as a large tree trunk, a rock, or a cluster of flowers. These objects are drawn with greater detail and contrast. The midground includes shapes that are smaller and less detailed, such as bushes or smaller trees. The background comprises distant hills, clouds, or a simple line of mountains that barely show any detail.
A common technique is to overlap elements to reinforce depth. For example, a foreground tree can partially obscure a midground field, and that field in turn can overlap the base of distant hills. Overlapping creates a sense of layering without relying solely on perspective lines. Shading and texture also play a role: lighter tones and softer edges tend to push objects into the background, while darker tones and sharper edges bring them forward. The combination of perspective, overlap, and tonal variation produces a convincing sense of space.
Incorporating Details and Texture
After the main shapes are in place, attention can turn to details that add realism and interest. Grass can be indicated with short, varied strokes that follow the direction of the ground. Clouds may be formed with gentle curves and soft shading. Bark on a tree trunk can be suggested with irregular vertical lines. These details do not need to be exhaustive; a few well-placed marks can suggest texture effectively.
It is useful to consider the light source when adding shading. A consistent direction of light—for instance, from the left or right—creates cast shadows that enhance depth. Shadows on the road or beneath trees can be indicated with parallel lines that also follow the perspective. The level of detail can be adjusted according to the artist’s preference. Some landscapes benefit from a minimal, impressionistic approach, while others may call for more precise rendering. The key is to maintain the overall coherence of the scene.
Refining Composition and Balance
Once the drawing is complete in its basic form, stepping back and assessing the composition can reveal areas for improvement. The position of the vanishing point may be adjusted slightly, or the size of certain elements may be changed to create a better balance. A landscape with too many objects on one side may feel unbalanced, while empty areas can be filled with subtle details such as grass, clouds, or distant birds.
Another consideration is the rhythm of the lines. Repeating elements such as fence posts or trees along a converging line can create a pleasing visual rhythm. The spacing between these elements should decrease as they approach the vanishing point. Adjusting the spacing by eye is a skill that develops with practice. If the composition feels static, adding a diagonal element—like a winding path or a sloping hill—can introduce movement. The final drawing should feel cohesive, with every part supporting the overall sense of depth and perspective.
Practicing these steps with different scenes helps build confidence. Over time, the artist will find it easier to plan and execute landscapes without relying heavily on rulers or guidelines. One-point perspective is a foundation that can be built upon with two-point and three-point techniques, but even on its own it offers a reliable way to create convincing spatial illusions in a simple landscape.